Friday, February 27, 2009
Wednesday, February 25, 2009
Tuesday, February 24, 2009
Monday, February 23, 2009
Sunday, February 22, 2009
Roma Plastalina Part 2
My idea here was to sculpt the negative space around a bunch of building shapes, so the lowest level in clay becomes the top of a building once I pour plaster on and flip the thing over. This is my first layer:
 I added about 5 layers total, each time adding and blending little snakes of clay to incrementally build up the walls which become "streets"
  The clay I'm using is the softest grade of Roma Plastilina available, and I swear it's as soft as toothpaste. It's difficult to keep the edges crisp on these walls because they are about 1/8" wide and I sculpted this with a wooden knife and a knitting needle.
 I like the clay negative shown here much more than this plaster relief. I just wanted to sculpt the negative space as an exercise, and design it in layers that change gradually.
Monday, February 16, 2009
Roma Plastilina
Friday, February 13, 2009
Wednesday, February 11, 2009
Tuesday, February 10, 2009
Monday, February 9, 2009
Sunday, February 8, 2009
Friday, February 6, 2009
Crazy Waction

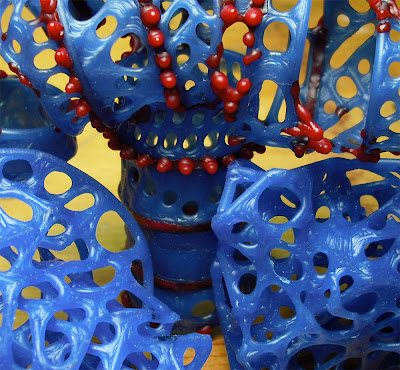
This is a detail of some wax work I'm building in collaboration with Ian Henderson. We call the method Exquisite Wax because we're working in the Exquisite Corpse fashion. This is just the beginning on my first turn. When I decide I'm done, I'll obscure my wax with a water soluble wax, leaving parts exposed so he can add wax, and mail it to him. When he's done working, he'll do the same, and then we'll cast it in silver or bronze (but probably silver because it casts better with more definition). I also have a wax he sent me already but I'm not showing that one. Technically I shouldn't be posting this publicly because he might see it. It could be called a spoiler. That is why this image is so cropped, hopefully it is confusing. We certainly don't want him premeditating his design based on this.
Subscribe to:
Comments (Atom)


